
Hyper-personalization (Greet by name)
What if your website greeted returning visitors by their first name? Generic copy blends into the background, but a headline or button that speaks to someone by name gets noticed. Hyper-personalization lets you put a visitor's own name into any text on your website once they've raised a hand with Bread & Butter.
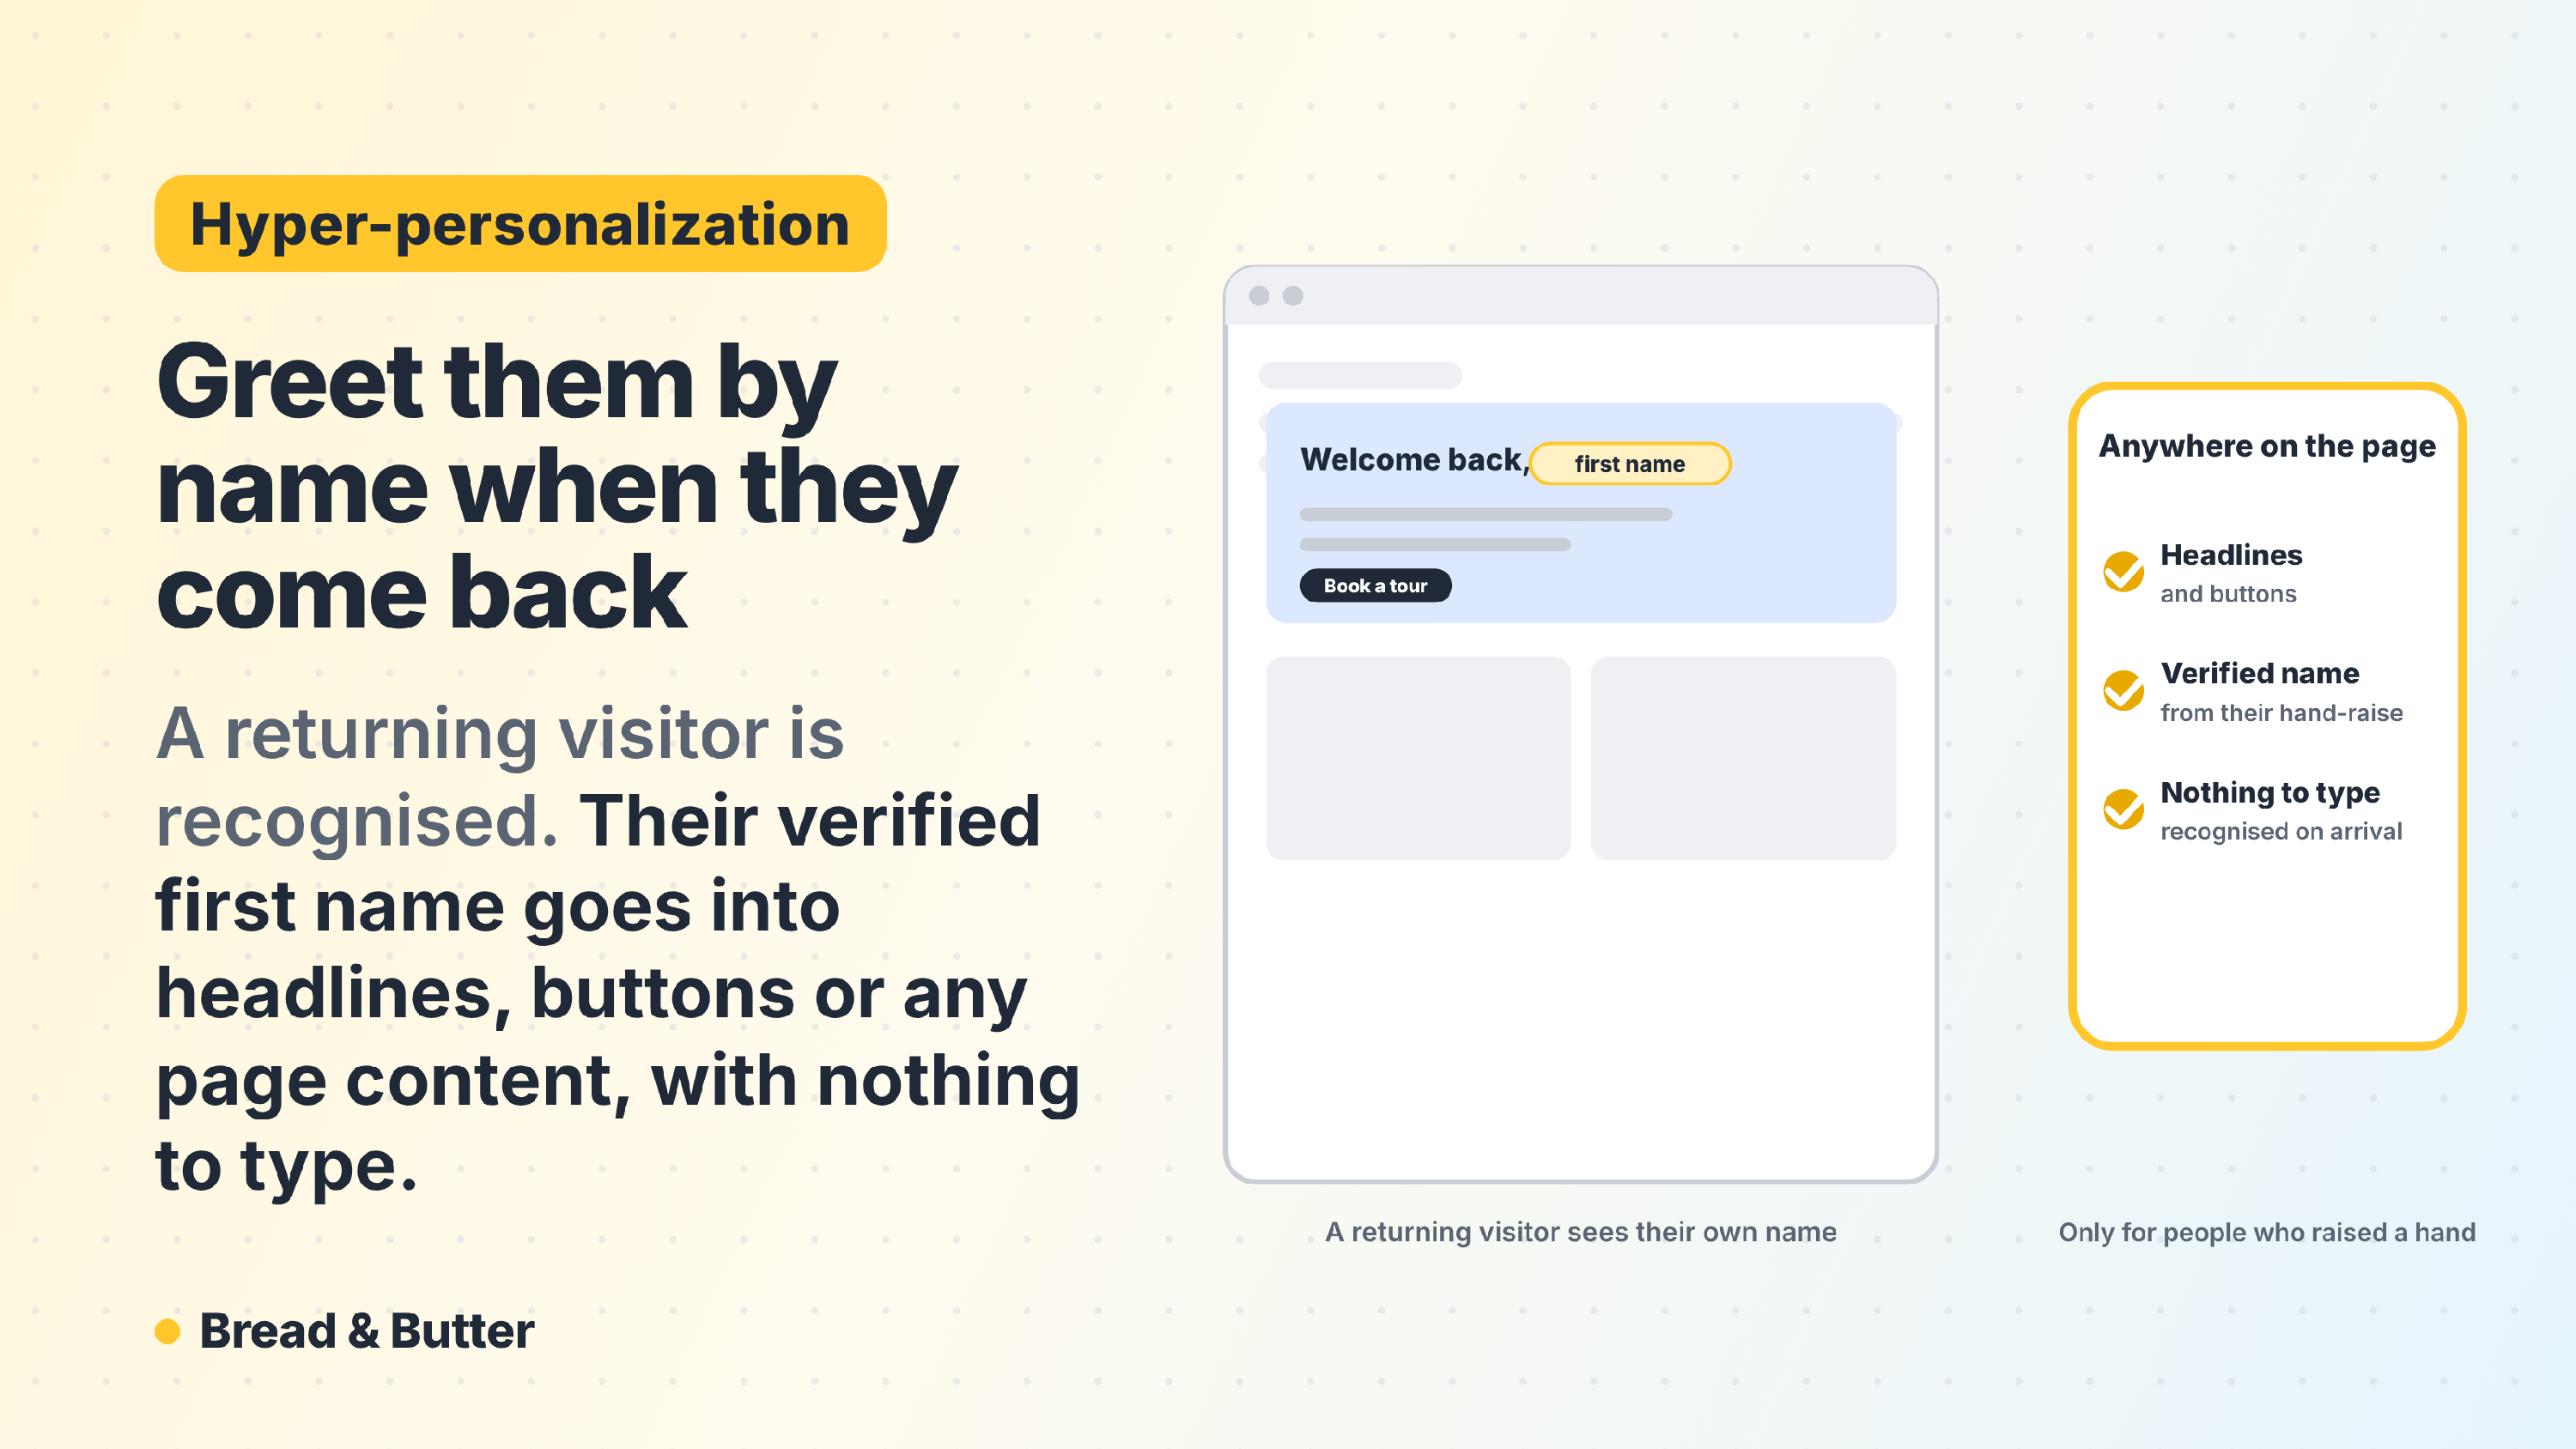
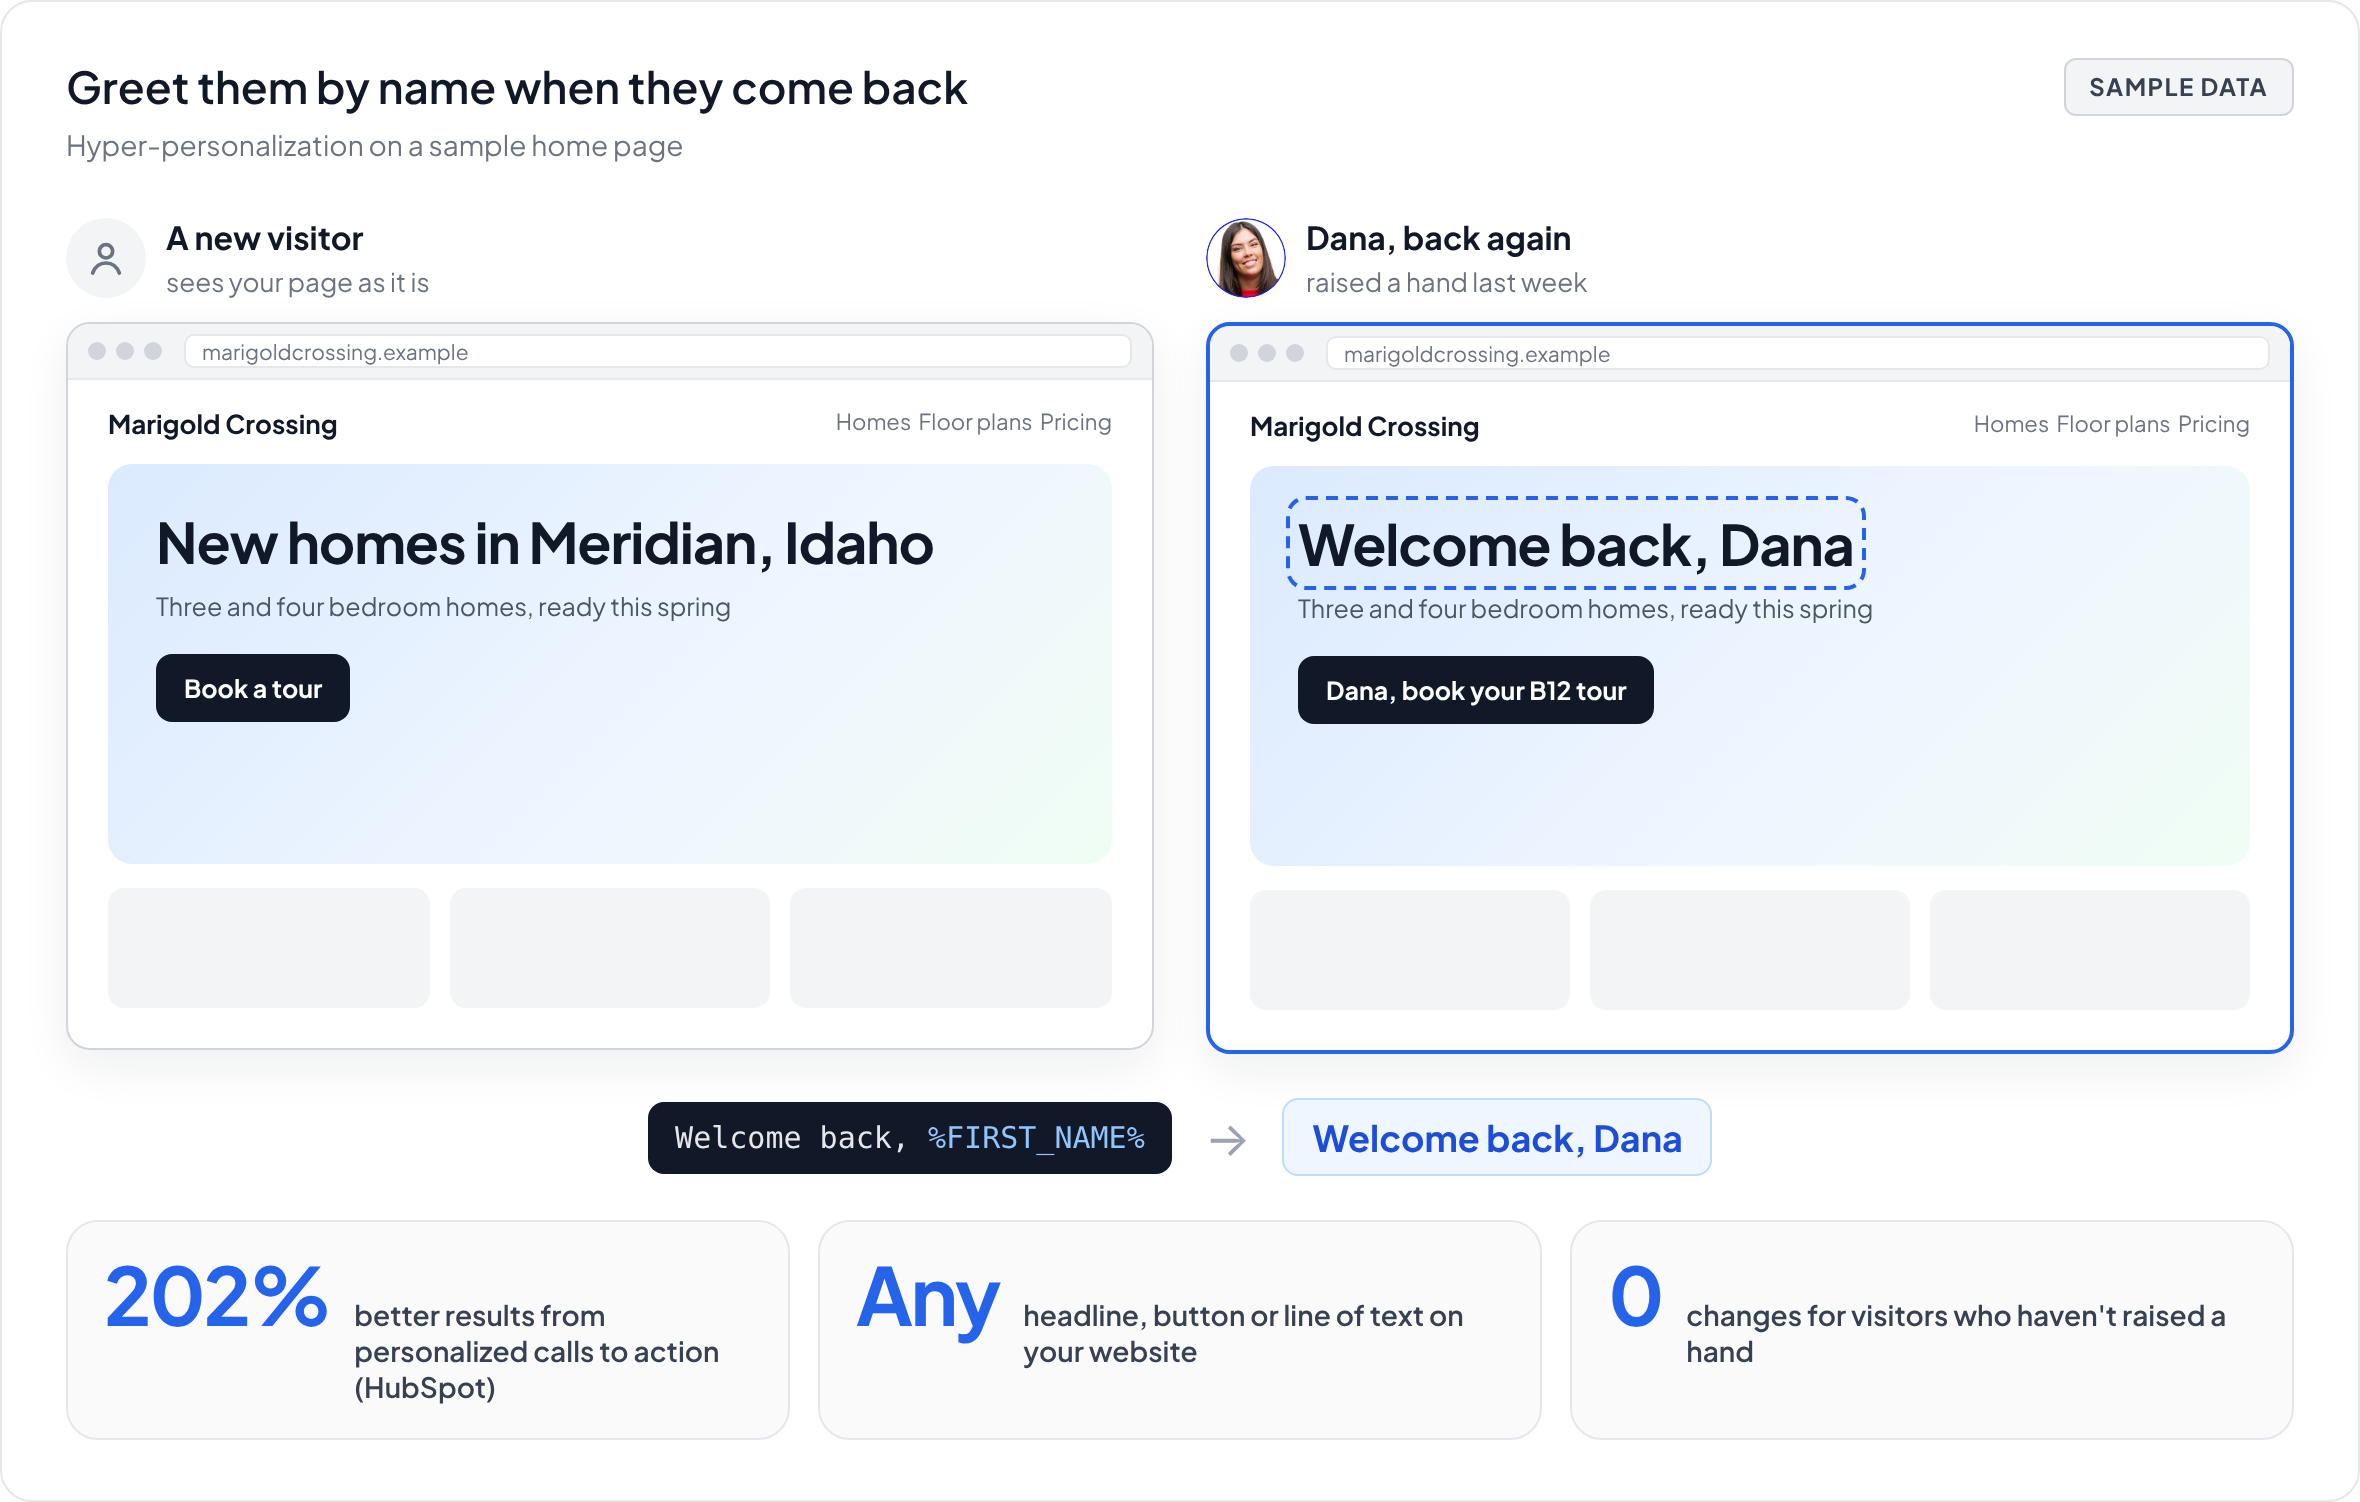
In short: Once a visitor raises a hand with any Bread & Butter tool, their verified first name, last name and email address are available to use on your website. Add a short script that replaces the text of any element, such as a headline or a call to action, with your own template, like "Welcome back, %FIRST_NAME%". Visitors who haven't raised a hand keep seeing your original text. The script works on WordPress and on any other website. On WordPress you can also show or hide whole blocks of content depending on whether a visitor has raised a hand, using two shortcodes.
How it works
You choose an element on your page, such as a headline, and write the text you want returning visitors to see instead. When a visitor who has raised a hand opens the page, Bread & Butter replaces the element's text with your template, filling in their name. Everyone else sees the page as it was.
Why use hyper-personalization
Personal calls to action outperform generic ones. In HubSpot's analysis of more than 330,000 calls to action over six months, personalized calls to action converted 202% better than basic ones.
- Verified names. The name comes from the visitor's verified account, not from whatever they typed into a form.
- Any text, anywhere. Put the visitor's name into a headline, a button, a banner or any other text on your website.
- Works with every tool. A visitor who raises a hand through Instant Lead Capture, a content gate, the Subscription Booster or any other Bread & Butter tool is greeted the same way.
- Recognised on arrival. Returning visitors see the personalized text as the page loads.
- Nothing changes for everyone else. Visitors who haven't raised a hand see your original text.
Set up hyper-personalization
The Bread & Butter snippet must already be on the page. On WordPress the plugin adds it for you. On any other website, see JavaScript Snippet, or Install Bread & Butter on Webflow.
Step 1: Give the text an ID
Find the element you want to personalize, such as your home page headline, and give it a unique ID, for example welcome-headline . On Webflow, select the element, click the gear icon in the right pane to open Element Settings, and enter the ID in the ID field. On WordPress, select the block, open Advanced in the block settings and enter the ID in the HTML anchor field.
Step 2: Add the script to the page
Add this script to the head of the page, below the Bread & Butter snippet. If you already have other Bread & Butter scripts there, add it below them.
- On Webflow, open Pages in the left menu, hover over the page, click the gear icon, scroll down to Custom Code and paste it into the Head Code field.
- On WordPress, the plugin doesn't have a setting for this, so add the script with a header code plugin, such as WPCode, or through your theme's header settings.
<script>
null == window.breadbutterQueue && (window.breadbutterQueue = []), window.injectBreadButter = function (e) { "undefined" != typeof BreadButter && BreadButter.init ? e() : window.breadbutterQueue.push(e) };
injectBreadButter(function () {
    BreadButter.ui.applyText('welcome-headline', "Welcome back, %FIRST_NAME%", {
        type: 'text'
    });
});
</script>
Step 3: Change the settings
| Setting | What it does |
|---|---|
welcome-headline |
The ID you gave the element in Step 1 |
"Welcome back, %FIRST_NAME%" |
The text verified visitors see instead. It replaces all of the element's existing text. |
type |
'text' for plain text, or 'html' if your template includes HTML tags, such as a link or bold text |
You can use these fields in your text:
| Field | What it shows |
|---|---|
%FIRST_NAME% |
The visitor's first name |
%LAST_NAME% |
The visitor's last name |
%NAME% |
The visitor's full name |
%EMAIL% |
The visitor's email address |
To personalize more than one element, give each one its own ID and add another BreadButter.ui.applyText(...) line for each inside the same script.
Step 4: Save and publish
Save your changes and publish the page. Verified visitors now see your personalized text. Repeat these steps for any other pages you want to personalize.
Show different content to signed-in visitors on WordPress
On WordPress, two shortcodes let you show a whole block of content to one group of visitors and hide it from the other. For example, you could show a sign-up offer only to visitors who haven't signed in yet, and a "What's new since your last visit" section only to those who have.
[breadbutter-logged-in-content]shows its content only to visitors who have signed in.[breadbutter-logged-out-content]shows its content only to visitors who haven't.
Add a Shortcode block where you want the content, and place your content between the opening and closing shortcode:
[breadbutter-logged-out-content]Get free access to our full library.[/breadbutter-logged-out-content]
[breadbutter-logged-in-content]Welcome back. Here's what's new this week.[/breadbutter-logged-in-content]
Related
- Instant Lead Capture (Most Effective)
- How to get User Profile information
- Custom Fields
- Account Widget
- JavaScript Snippet